

Recipes
How to Make a Latte at Home (No Espresso Machine Required)
A Latte at Home, With the Equipment You Have
A clear coffee-and-milk starting recipe, with an espresso route, a practical no-machine version and safe ways to add a little foam.
Jump to recipe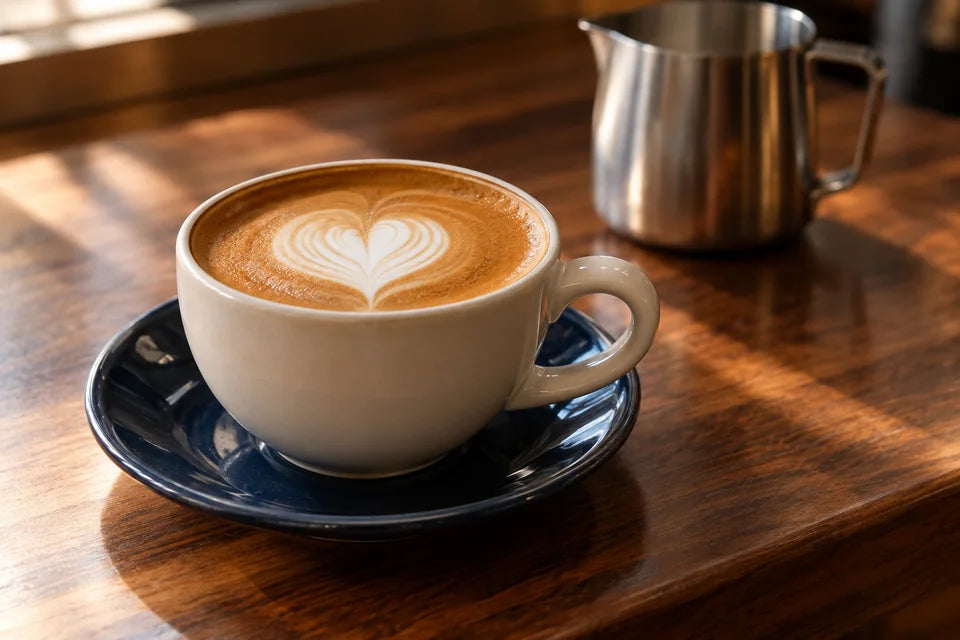 AI-created editorial imagery
In this guide 5 chapters
Choose the coffee you can make today
A good home latte begins with a small amount of coffee you enjoy and enough warm milk to soften it. You do not need a new machine to make a lovely milk coffee. Espresso makes the familiar café version; concentrated moka coffee makes a different, equally useful starting point.
Keep the distinction honest. Moka coffee, AeroPress coffee and drip coffee are not espresso, and adding twice the grounds to a drip basket is not a universal shortcut. Use the brewer’s supported recipe and capacity. If the coffee is less concentrated, start with less milk rather than overfilling or forcing the brewer.
For one comfortable mug
- 36 to 45 g prepared espresso, using a recipe that fits your basket; or 60 ml prepared moka coffee
- 180 ml cold milk or a plant drink you enjoy
- Optional: 1 teaspoon sugar, adjusted after tasting
Have a mug holding at least 300 ml, a spoon and a suitable way to heat the milk. Use a food thermometer for manual heating. These are starting proportions, not a rule for every café latte. The milk amount is measured before heating and frothing.
If you have ordinary brewed coffee, try 90 ml coffee with 90 ml warm milk as a separate café-au-lait-style option. It will be less concentrated than the recipe above, and that is fine.
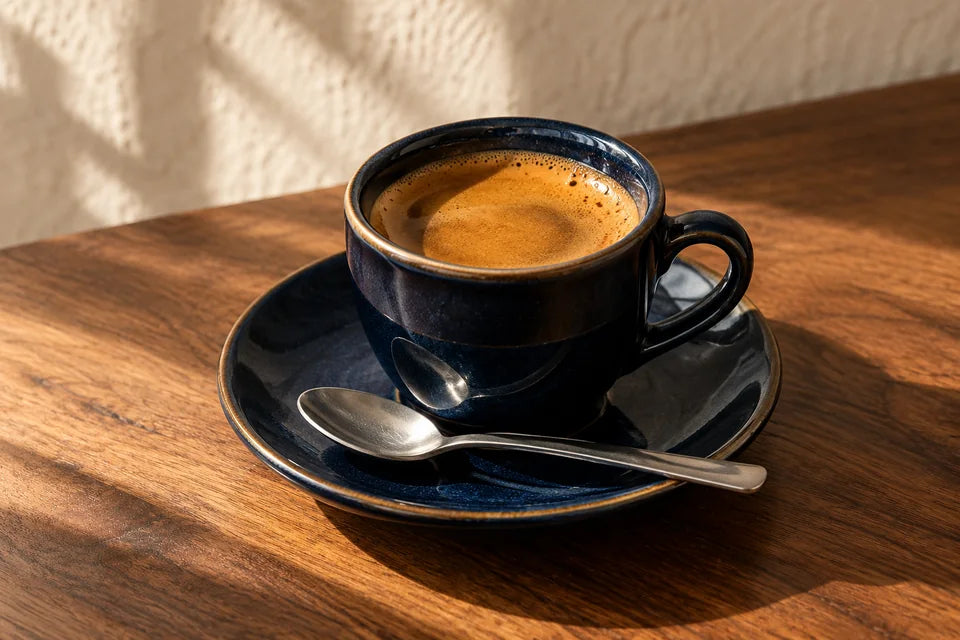
Warm the milk with a little room to spare
With a steam wand, use the pitcher, minimum fill and operating sequence in your machine’s manual. If 180 ml is below its supported fill, use an appropriately sized setup or another heating method. Start with cold milk; stop steam before withdrawing the tip and complete the immediate cleaning routine.
With a saucepan, warm the milk gently while stirring and watch the thermometer. Around 60°C/140°F is a useful optional serving-texture starting point for many dairy lattes, subject to the milk and equipment directions and your preference. It is not a pasteurization process or a promise of universal sweetness. Do not boil the milk or test its heat with a finger.
A purpose-built electric frother is another easy route: select its appropriate program and respect the heating or frothing fill marks. With a handheld frother, use an open, stable, compatible vessel with generous expansion space and follow the tool’s directions. Stop the whisk before lifting it out. Do not shake hot milk in a closed jar or heat a sealed container.
Bring the drink together
- Prepare the coffee in the mug. Stir in the optional sugar while the coffee is warm.
- Heat and texture the milk using your chosen supported method. Aim for a little integrated foam, rather than doubling the milk into a stiff cap.
- Pour the warm milk into the coffee. Swirl the pitcher gently first if the milk and foam have separated.
- Let the drink reach a comfortable sipping temperature, then taste before adding anything else.
The first success is a pleasant drink, not latte art. If your frother makes a fluffy top instead of glossy microfoam, enjoy it for what it does well. The milk texture guide explains the next skill when you want to practice.
Change the balance before changing the equipment
If the drink tastes mostly like milk, use 150 ml next time with the same coffee base. If the coffee feels too intense, add milk in small splashes. Keep the coffee recipe steady while you learn the balance; changing grind, coffee amount and milk together makes the result harder to understand.
If the base tastes unpleasant on its own, more milk may soften it without solving it. The espresso guide helps with an espresso base; the moka guide covers the stovetop route.
Different dairy and plant products will change flavor and foam. Choose by what you enjoy and by the carton’s heating directions. “Barista” is useful product information, not a guarantee of identical texture across brands. For a flavored next cup, add the measured honey in our honey cinnamon latte rather than pouring in several syrups at once.
Sources & further reading
Our teaching is written for Coffee Crate. Named recipes remain credited to their creators; manufacturer instructions apply to the equipment specified.
- Breville BES840 instruction book (opens in a new tab) ↗Named-machine reference for steaming, hot surfaces and cleaning; follow the instructions for your own equipment.
- FDA: Are You Storing Food Safely? (opens in a new tab) ↗General refrigeration and food handling. Does not establish a homemade coffee shelf life.
Sources checked 2026-10-16.