

Brew Guides
Cold Brew Coffee: A Beginner’s Brewing Guide
Cold brew: make the batch, then make the glass
An overnight coffee plan you can actually follow, from first contact and filtration to a serving worth repeating.
Start reading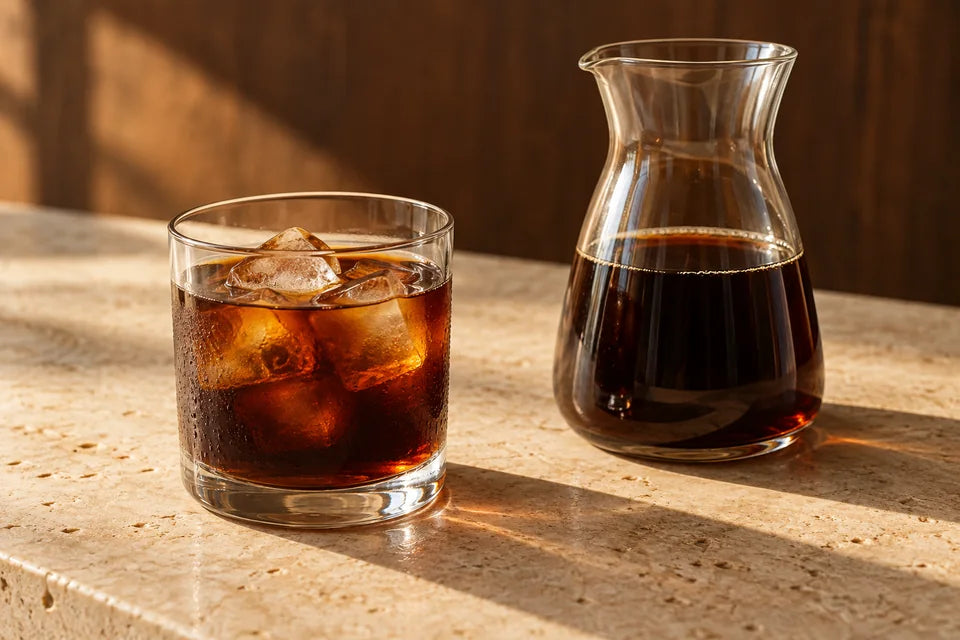 AI-created editorial imagery
In this guide 8 chapters
Plan tomorrow’s coffee before you wet the grounds
First-batch tip: Choose a recipe that matches your brewer and where it will steep, then write down when you will return to filter it. Brewing the batch and mixing the finished glass are two separate jobs.
Cold brew is wonderfully convenient when the waiting has a plan. The useful question is not just “How long does it steep?” It is also “Where will it sit, how will I strain it, and will I be there when it is time?” Set out the filter, make space for the batch and choose a return time before the first splash of water.
You can make a stronger concentrate for later serving additions or a lighter batch you intend to drink with little dilution. Neither name guarantees the finished strength. Begin with a complete recipe and keep the actual coffee, water and serving amounts clear.
Choose the vessel and filter together
Use clean equipment intended for food contact, with enough working space for water and grounds. A jar needs a planned straining setup; a dedicated cold brewer has a filter and release procedure to follow. Check that the collected drink will fit your receiving vessel.
A mesh filter, paper bag and felt filter are different systems. Use the wetting instructions for the filter you have. Toddy's Home manual allows stirring with its paper-bag method but warns against stirring the felt-only coffee bed because it can clog.
Before you begin, put the clean filter and receiving vessel where you can find them tomorrow. “I will strain it somehow” is easy to say at bedtime and less useful in a busy morning. Check that you have all the parts and that they are ready to use before brewing.
A complete starting recipe for the OXO Compact
If you own an OXO Compact Cold Brew Coffee Maker, its manufacturer publishes a specific route: 175 g coarse-ground coffee and 24 fl oz brewing water, using the Compact's rainmaker, lid and built-in filter. Its instructions give 20 to 24 hours in the refrigerator, or a separate counter method of 12 to 24 hours. Pick the appropriate documented route and a return time within it.
- Assemble correctly. Align the Compact's container/base markings and add the specified coffee.
- Add water through the rainmaker. Use two fills to the carafe's 12 fl oz mark for 24 fl oz total. Follow its wetting instructions; do not stir the bed.
- Cover and steep. Record first water contact, chosen location and intended return time.
- Filter on return. Place the brewer over its open carafe as instructed; this begins automatic drainage.
- Serve separately. Measure concentrate into your glass and add water or milk to taste.
- Put the rest away. For this Compact route, cover the remaining concentrate in the clean glass carafe with its cork lid and refrigerate according to OXO's instructions.
That is a named manufacturer's recipe, not a jar recipe or directions for the full-size OXO brewer. If your equipment differs, use its matching recipe rather than copying these fill marks.
Understand the batch numbers without mixing recipes
Brew Labs offers a 1:8 concentrate planning reference: for example, 75 g coffee and 600 g brewing water. This is a ratio example, not the OXO recipe above and not a complete steeping or food-storage instruction. Use your chosen brewer's full recipe when deciding the wetting process, location and duration.
At 1:8, multiply coffee mass by eight to find brewing-water mass. At any chosen ratio, keep capacity in mind: water and dry coffee both have to fit. Our ratio guide explains the arithmetic.
The liquid recovered after filtration is not equal to the water you began with. Wet grounds retain liquid, and filtration changes what you collect. Measure recovered beverage if you want a yield record. Do not label a planned batch-water amount as the measured concentrate you have available to serve.
Leave yourself a clear return plan
Write the actual start when water first meets the grounds. Separately record the recipe's planned steep, steep location and a realistic time to return. When a reminder arrives, return to the batch and record when you actually start filtering.
On return, check the batch record and handling, then prepare the filtration setup. Mark when you actually begin filtering. With slow drainage, liquid can remain in contact with grounds after that action starts, so filtering-start time and the end of all contact are not necessarily the same event.
Let the approved filtration system work. Do not force grounds through it to recover a promised volume. If drainage stalls, follow that brewer's troubleshooting. A future batch may need a different grind or better filter preparation, but the current problem does not justify an improvised rescue.
Build a serving you can repeat
Start with a measured portion of finished concentrate and a measured addition of water or milk. For an exploratory comparison, put 50 g concentrate in each of two glasses. Add 50 g drinking water to one and 75 g to the other. Compare at similar temperatures before introducing ice. These are serving trials, not claims that either matches a particular filter-coffee strength.
A 1:1 serving addition means equal concentrate and added liquid. It does not turn a 1:8 brewing recipe into a known 1:16 beverage: the original grounds are gone, some liquid stayed behind, and the concentrate's dissolved strength has not been measured.
Milk changes flavor and texture as well as dilution. Ice changes the drink as it melts. Once you like a serving, record concentrate, additions and ice consistently. For more examples, use our concentrate and dilution guide.
Fix the right stage
Weak in the glass: Check whether you diluted a concentrate or a ready-to-drink batch. Compare less serving liquid from the same batch before making the next steep longer.
Muddy: Review the filter, its fit and the grind. A second filtration may change texture when appropriate for the chosen process. Grit is not proof of poor flavor extraction.
Harsh or flat: Record the coffee, actual batch amounts, environment, steep and serving. There is no universal hour when every batch becomes bitter. Choose a planned comparison within the brewer's instructions after checking setup.
Handling or storage is uncertain: Pause tasting experiments. Flavor and a timer cannot establish safety. Follow the relevant manufacturer's storage instructions and appropriate food-handling guidance; do not extend the steep or dilute a questionable batch to rescue it.
Leave tomorrow a useful note
For the OXO Compact route above, keep the remaining concentrate covered with its cork lid in the refrigerator. For another process, use its matching storage instructions and a clean covered container. Label the batch and make an amount you can manage. This guide does not assign a universal shelf life to different homemade recipes and storage histories.
Save the recipe, coffee, grind, water, first-contact time, location, actual filtration start, recovered beverage if measured and the serving you liked. Open a Cold brew batch in Brew Labs to keep your return plan and serving notes together. It opens the general batch planner; this article's OXO recipe is not automatically imported. Enter the recipe and steep location you actually chose, then set your own return plan. The house 1:8 planning reference is a separate option. Tomorrow's coffee gets a little easier when today's note tells you where to begin.
Sources & further reading
Our teaching is written for Coffee Crate. Named recipes remain credited to their creators; manufacturer instructions apply to the equipment specified.
- OXO: How to Use the Compact Cold Brew Coffee Maker (opens in a new tab) ↗Named Compact recipe: 175 g, 24 fl oz, and location-specific steep windows. Not the full-size brewer or an arbitrary jar.
- OXO Compact instruction booklet (opens in a new tab) ↗Primary assembly, no-stir, location and automatic-drain directions for the Compact model.
- Toddy Home brewing guide (opens in a new tab) ↗Different paper-bag/felt-only wetting methods, batch/filtration/serving separation; manufacturer storage statements are not generalized.
- OXO full-size Cold Brew manual (opens in a new tab) ↗Different full-size concentrate recipe, recovered yield and serving additions; reviewed to avoid mixing model instructions.
Sources checked 2026-10-16.