

Brew Guides
Grind Size by Brew Method: The Reference Chart
Grind Size by Brew Method: A Starting Reference
Find a useful starting neighborhood, then use the recipe and equipment to guide a measured comparison. Grinder numbers do not travel between models.
Start reading AI-created editorial imagery
In this guide 5 chapters
Use the chart to begin, not to finish
Start with the maker's grind guidance for your brewer and the complete recipe you chose. The descriptions below help you find the neighborhood. They are not measured particle sizes or a promise that every coffee at that setting will brew on the same clock.
Grinder dials are not standardized. A number from somebody else's grinder may describe a completely different result on yours. Record your own setting with the coffee and recipe; that becomes a much more useful personal chart.
Match the brewer and recipe
| Brewer | Starting description | What to confirm |
|---|---|---|
| V60 pour over | Filter or medium-fine neighborhood | Dripper size, paper and the selected pouring recipe |
| CHEMEX | Medium-coarse under maker guidance | Correct bonded filter and clear spout air channel |
| Automatic drip | Medium/filter neighborhood | Basket geometry, filter and the machine's batch range |
| French press | Coarse for our introductory recipe | Actual filter system, working capacity and safe plunge instructions |
| AeroPress | Recipe-dependent; start with its model's instructions | Original, XL or another model; cap, filter and safe upright procedure |
| Moka Express | Moka-compatible grind under Bialetti guidance | Physical fill limits and no tamping; do not substitute an espresso-machine recipe |
| Conventional espresso basket | Fine, using the grinder's compatible espresso range | Fitted dose, clearance, actual yield and preparation |
| Pressurized espresso basket | Compatible grounds specified by the machine | Basket instructions before treating flow as conventional espresso feedback |
| Cold brew | Usually coarse under the selected maker recipe | Brewer/filter, batch amounts, steep conditions and separate serving dilution |
The chart intentionally omits universal recipe times and ratios. Those belong with the complete method. A Moka pot is especially unsuited to forcing a calculator's coffee-and-water ratio into its physical chambers.
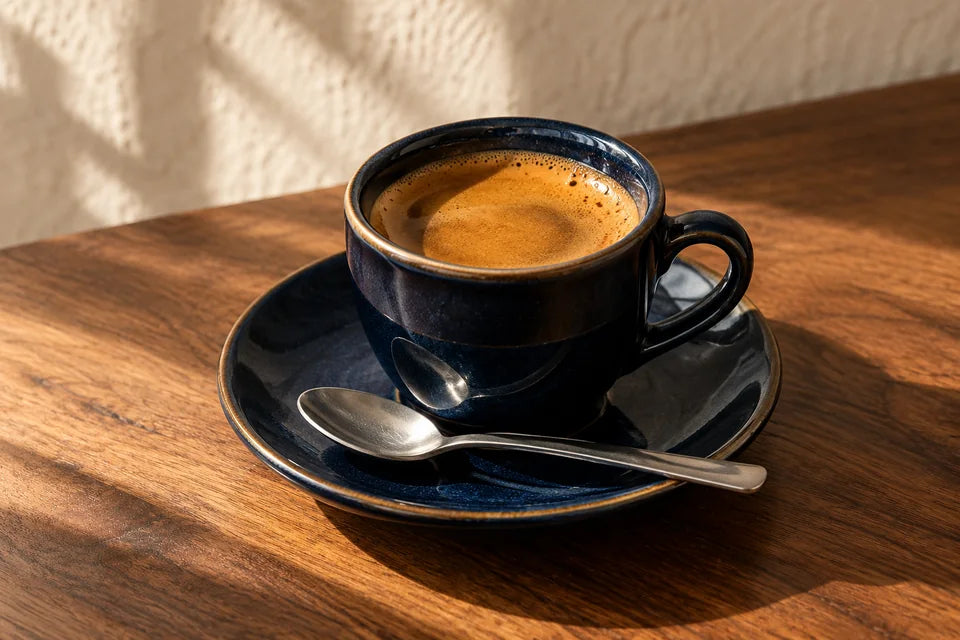
What can I learn by looking?
A pinch spread on a plate can help you distinguish a coarse batch from a fine one. Kitchen comparisons such as sand or salt remain rough descriptions: those materials also vary, and the coffee contains a mixture of particle sizes.
Do not use appearance alone to approve espresso compatibility or to decide a grinder is faulty. You need its documented range, the actual coffee bed and the resulting brew. A fine setting that severely restricts a particular basket is not made correct by looking like a photograph.
The grind explanation covers surface area, flow and why continuously finer espresso grinding has limits.
Choose the next move from the whole brew
Before a grind change, check actual amounts and assembly. A folded filter, closed air channel, overfilled basket or missed water target can explain a different brew without any change in particle size.
When a correctly assembled percolation setup repeatedly restricts flow, a modest coarser comparison may help. Unexpectedly fast flow may justify checking the intended setting and then comparing finer. Taste and observations still matter; neither long nor short duration establishes extraction percentage.
For immersion, do not transfer the drainage logic directly. If a press cup feels too light, check coffee and water amounts and the selected recipe before making the grind finer. For AeroPress, never force a hard press. Follow the AeroPress Original sequence for the complete method. For Moka, abnormal leakage or valve venting calls for stopping heat and the manual's safety procedure, not a mid-brew grind fix.
Make a chart that belongs to your kitchen
Write one row per method: coffee, brewer, filter or basket, setting, actual amounts, procedure and what you liked. Include whether you changed settings just before that dose. Follow the grinder's instructions for adjustment and clearing grounds; no universal purge mass works for every design.
Revisit the reference when the coffee, filter, dose or batch changes. A setting that worked for one bag can remain a useful start without becoming a rule for the next. Preserve a recipe you liked so an unhelpful experiment has an easy route back.
Use the linked method guides for complete steps. The chart's job is to remove the first guess. Your own recorded cups do the rest.
Sources & further reading
Our teaching is written for Coffee Crate. Named recipes remain credited to their creators; manufacturer instructions apply to the equipment specified.
- Hario UK: Expert V60 Brew Guide (opens in a new tab) ↗V60-specific paper-filter equipment and pouring sequence; not a recipe for every dripper.
- CHEMEX: Frequently Asked Questions (opens in a new tab) ↗Maker guidance: medium-coarse starting grind, three filter layers over the spout and an open air channel; not evidence for an exact house recipe or guaranteed flavor.
- Moccamaster: Brewing 101 (opens in a new tab) ↗Manufacturer’s 55 g per litre reference and reservoir/filter preparation. It is one brewer reference, not a universal manual-brewing standard.
- ESPRO: French Press Brew Guide (opens in a new tab) ↗Named double-filter press preparation; generic mesh presses may differ.
- AeroPress: How to Use (opens in a new tab) ↗Manufacturer distinguishes brewer models, compatible filters and procedures. Original-paper preparation is not a method-wide ratio rule.
- Bialetti: Moka Express Instructions and Warnings (opens in a new tab) ↗Moka Express preparation and safety, including no tamping, fill limits and removal from heat; other models require their own manual.
- Breville Barista Express instruction book (opens in a new tab) ↗Named-model basket, preparation, control and safety examples. The manual for the exact machine and accessories takes priority.
- Baratza: Dialing in Espresso (opens in a new tab) ↗Manufacturer examples show distinct adjustment systems and model ranges; no setting, purge quantity or calibration procedure is generalized.
Sources checked 2026-10-16.